
Countertop Tips
Countertop Overhang Sizing for Breakfast Bars and Islands
How big a countertop overhang can be without brackets, how much knee space you actually need, and the rules that keep an island stable.
- Published
- July 5, 2026
- Author
- Blackburn's Interiors, Winter Haven, FL
- Updated
- August 4, 2026
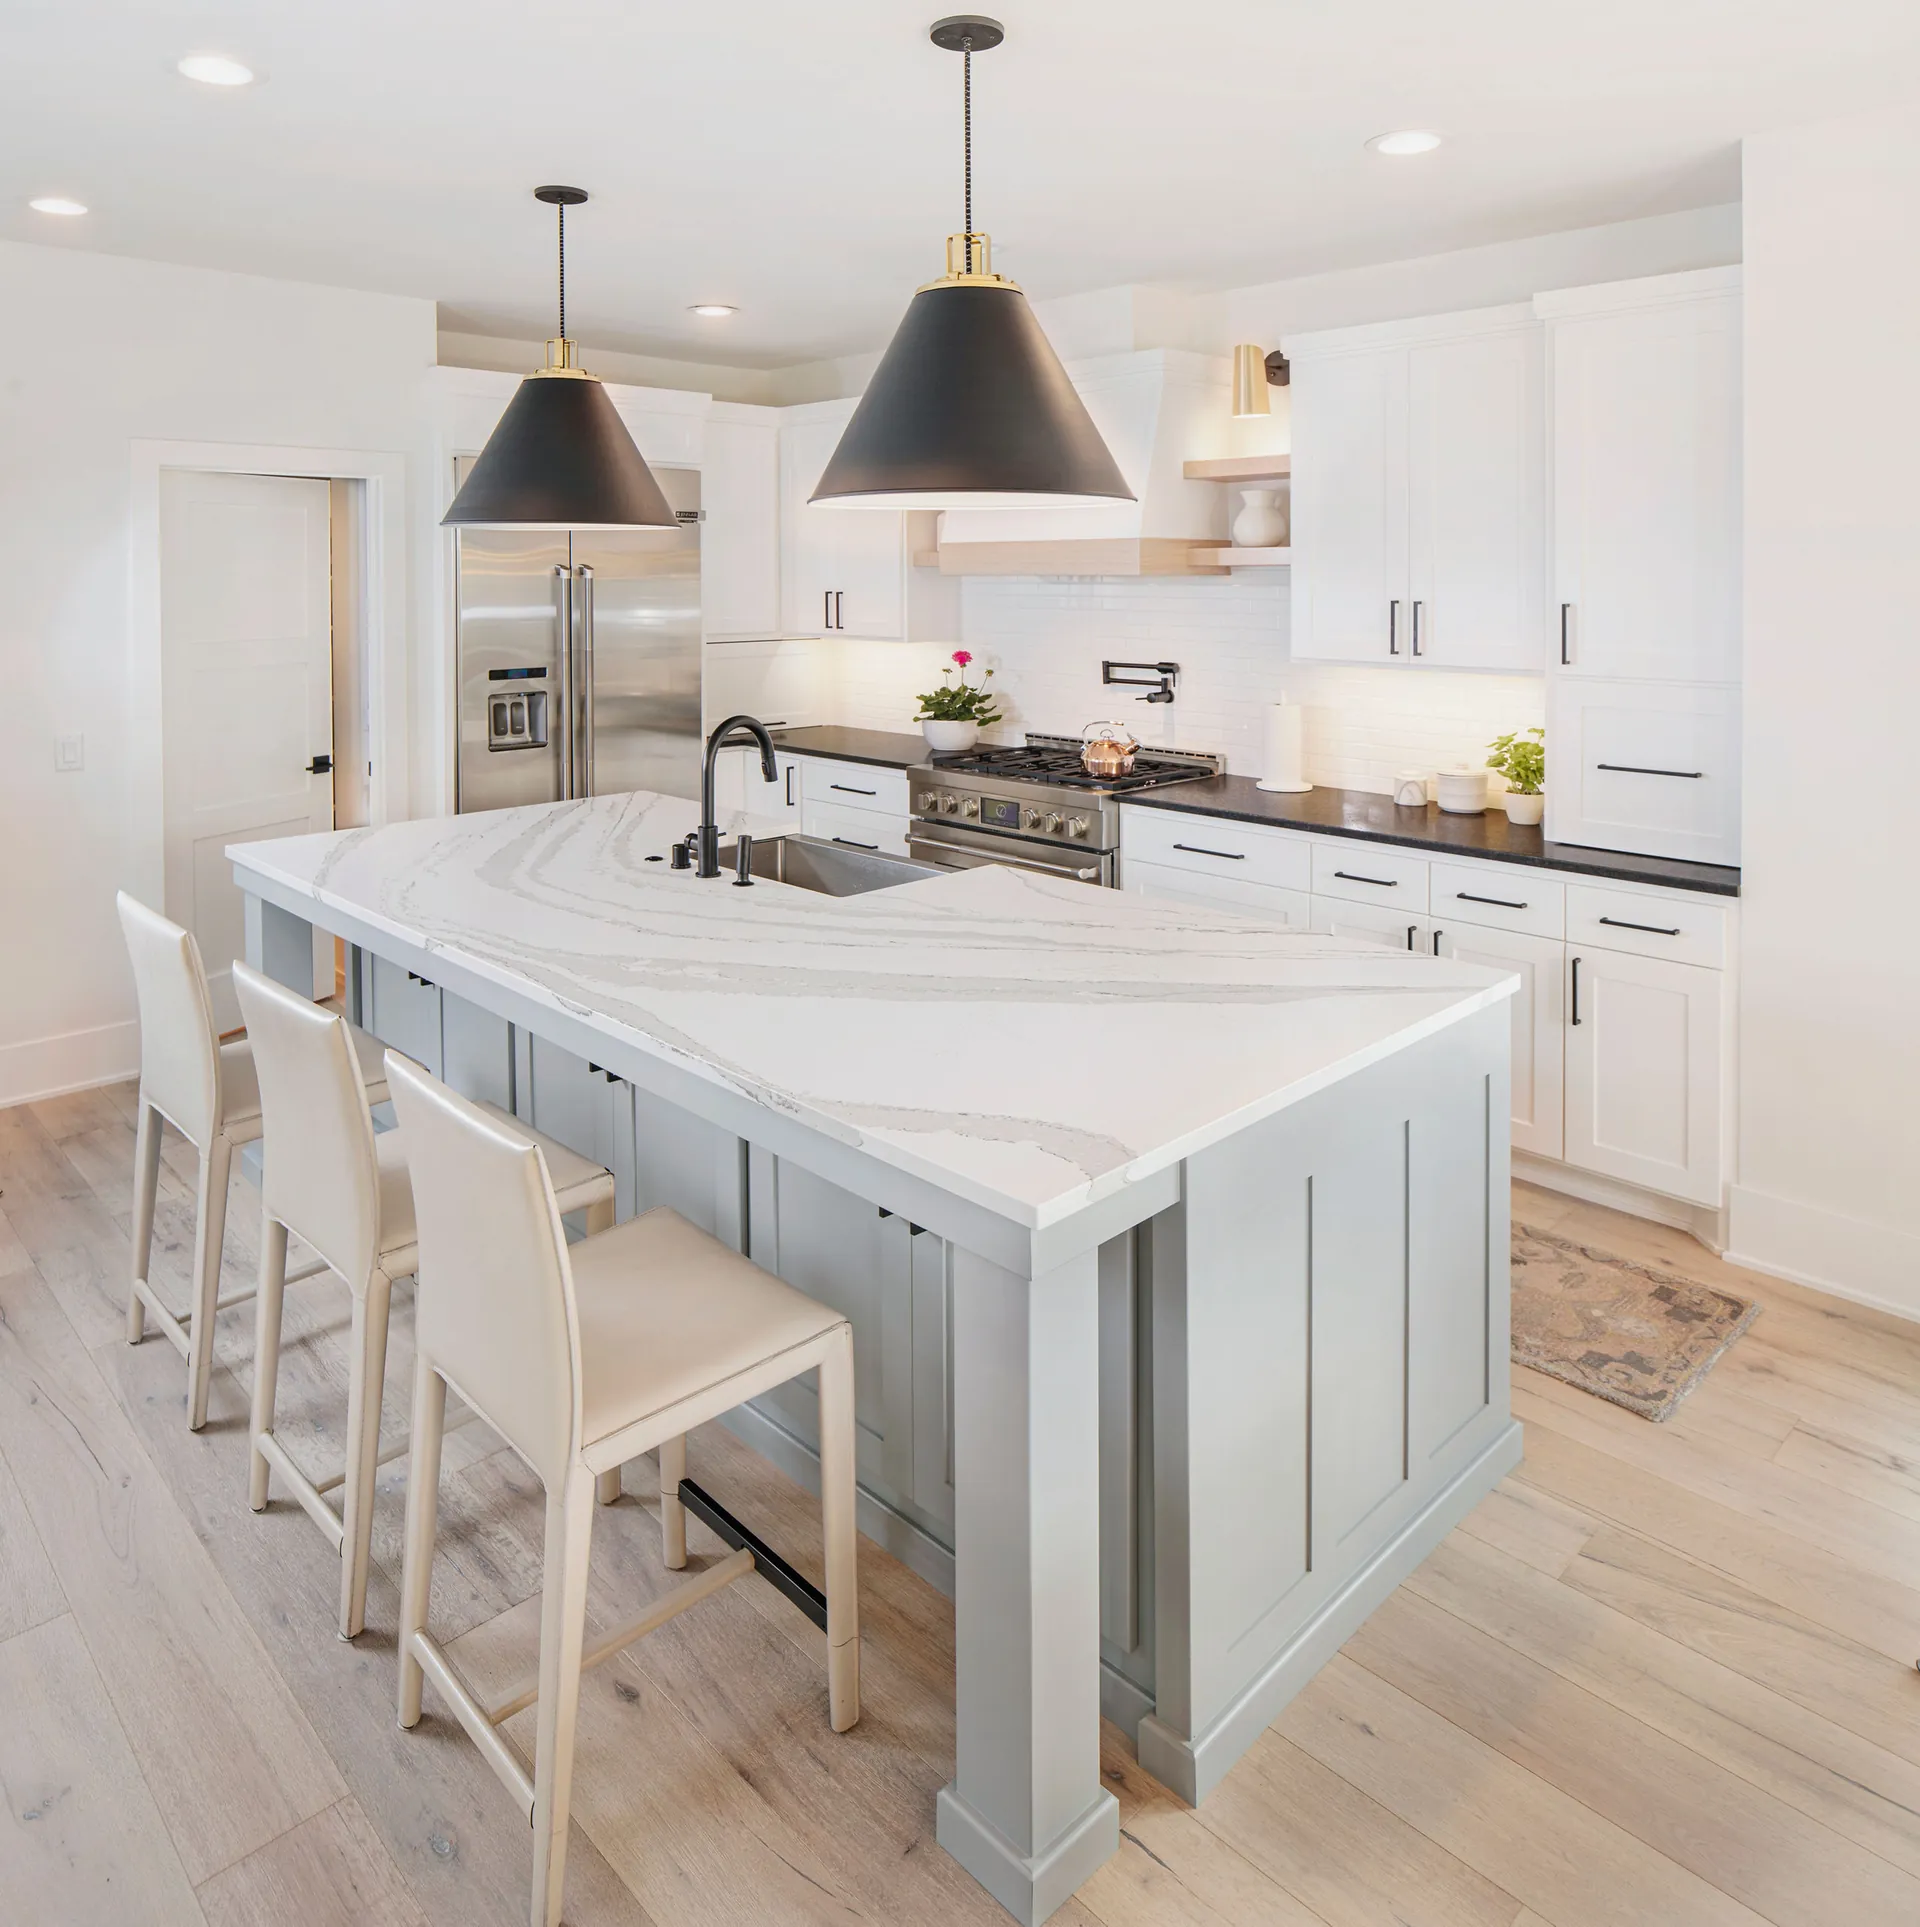
Every kitchen island starts with the same conversation. "How big can the overhang be? Can two stools fit? Can four?" The answer changes everything downstream: slab size, bracket placement, cabinet layout, and how the room actually feels to sit at. Get the overhang wrong and the family avoids the island. Get it right and it becomes the most-used surface in the house.
Here are the real numbers we use when planning countertop overhangs in Winter Haven kitchens. No fluff, no marketing. Just the dimensions, the structural rules, and the trade-offs that come with each choice.
What Is an Overhang?
The overhang is the part of the countertop that extends past the front of the cabinet. Every counter has at least a small overhang, usually 1" to 1.5" of slab past the cabinet face, so that drips fall off the front edge instead of running back into the cabinet. That small overhang is structural and doesn't need any thought.
What people usually mean by "overhang" is the bigger extension on a breakfast bar or island, the part that creates seating space underneath. Those overhangs typically run 8" to 18" or more, and they're the ones that need careful planning.
Standard Overhang Sizes
- 1" to 1.5": the standard front lip; not for seating, just keeps drips off the cabinet face
- 8" to 12": casual standing service; big enough to set a plate, not big enough for a meal
- 12" to 15": comfortable seated minimum; knees fit under the counter, a plate fits in front of you
- 15" to 18": the family-kitchen standard; full elbow space, plates, drinks, and phones
- Over 18": bar-height generous; 21" to 24" needs structural brackets and rarely beats a clean 18"
Below 12" the seating gets cramped. Adult knees hit the cabinet base. 18" is the most common island overhang we install in Polk County kitchens.
How Much Counter Overhang Is Safe Without Brackets?
This is the structural question that drives every overhang decision. The rule comes from the slab's tensile strength and weight. It's not arbitrary. The big quartz makers publish their own limits, and Cambria and MSI land close to each other. Here is the unsupported overhang depth (no brackets, no corbels):
- 2 cm quartz: 8" to 12" of unsupported overhang. MSI stops at 8", Cambria allows 12". Deeper than that requires brackets.
- 3 cm quartz: 15" to 16" of unsupported overhang. Cambria sets 15", MSI sets 16". Deeper than that requires brackets.
- Granite: natural stone runs slab to slab, so the published quartz numbers don't carry over. Your fabricator sets the safe span at template.
- 3 cm with a steel rod inset: some fabricators run deeper still. The rod goes in during fabrication, so the shop has to sign off before the template.
- Laminate over wood substrate: up to 8" to 10" of unsupported overhang depending on substrate
The reason the rule exists: a slab that's too big without support will eventually flex, crack at the cabinet edge, or fail outright if someone sits on the overhang or drops weight on it. The crack usually starts as a hairline fracture along the cabinet's front edge and grows over months.
If your overhang exceeds the safe unsupported depth, and most island overhangs do, you need support brackets, corbels, or a knee wall.
Support Bracket Options
Steel Plate Brackets (Most Common)
Hidden steel plates bolted into the top of the cabinet, extending out to support the slab. Invisible once the slab is set because they're recessed under the stone. Brackets go every 24" along the overhang length, the interval MSI publishes for its quartz, and add roughly $100 to $300 per bracket installed. Our default recommendation for any island with an overhang over 12".
Decorative Corbels
Wood or wrought-iron brackets mounted on the front of the cabinet. Highly visible and intentionally decorative. Strong choice for traditional kitchens, but they fight contemporary and modern designs. Corbels run $50 to $300 each.
Knee Walls
A short partition wall under the counter that supports the slab. Common on raised-bar islands where one side is counter height (36") and the other is bar height (42"). Knee walls fully support any overhang depth.
How Much Knee Room Do You Need?
Standard counters are 36" tall, paired with 24" to 26" stools, leaving 10" to 12" of clearance from seat to slab underside. Bar-height counters (42") pair with 28" to 30" stools for the same 12" clearance. Both are comfortable for most adults.
Knee depth under the slab is the often-forgotten dimension. Most adults need 9" to 10" of usable knee depth, which means 12" of overhang (after subtracting cabinet toe-kick and base trim). 15" is more comfortable for taller adults. We've remeasured kitchens where an 8" overhang turned a planned breakfast bar into a place where nobody ever sat.
How Many Stools Fit at My Island?
Counter stools take roughly 24" of width per seated person, enough room for shoulders without crowding. Bar stools without arms can squeeze to 22". Stools with armrests need 26" to 28". Use these numbers for planning:
- Small breakfast bar (3 to 4 ft wide): 1 stool with elbow room, 2 stools squeezed
- 5 ft wide overhang: 2 stools comfortable
- 6 ft wide overhang: 2 stools comfortable, 3 stools tight
- 7 to 8 ft wide overhang: 3 stools comfortable
- 9 to 10 ft wide overhang: 4 stools comfortable
- 12 ft overhang: 5 to 6 stools comfortable
Plan for how the family actually uses an island, not the maximum capacity. Three comfortable seats at a 6 ft overhang feels much better than four cramped ones, and the kids will always pick the comfortable layout.
Common Island Configurations
Single-Height Island With Long Overhang
One continuous 36" counter the full length of the island, with seating along one full side. The most popular 2026 layout. Overhang is 12" to 18" on the seating side. Requires steel brackets every 24". Looks clean and modern.
Two-Tier Island (Raised Bar)
Counter-height work surface (36") on one side and bar-height seating (42") on the other. The raised portion sits on a knee wall, which automatically supports a deeper overhang. Less common in 2026, as the trend has shifted toward single-height, but still a great solution for true bar-style seating.
Waterfall Island
Counter wraps down the side of the cabinet at a 90° miter. The waterfall side has no overhang. The opposite long side often has a 12" to 18" overhang for seating. Waterfall details are mitered, and a deep overhang on the opposite side still needs brackets.
Material Affects How Big You Can Go
Different materials handle overhang differently. The full breakdown is in our quartz vs granite comparison, but the overhang-specific notes:
- Quartz: engineered for predictable strength. Holds 15" to 16" unsupported on 3 cm, more with brackets. Doesn't crack or chip easily at the bracket bolt holes.
- Granite: natural stone, slightly more variable, and the published quartz limits don't transfer to it. Some granites with heavy mineral veining can be more brittle at the unsupported edge. Your fabricator will flag this when templating.
- Laminate: fine for breakfast bars on a wood substrate. Use plywood or thicker engineered substrate for support beyond 8".
How Much Does a Big Overhang Cost?
The cost adds up in three places: extra slab, extra fabrication, and brackets. A rough breakdown for a typical 8 ft long island with an 18" seating overhang:
- Extra slab vs. a no-overhang island: 12 sq ft additional slab at $50–$150/sq ft = $600 to $1,800
- Extra fabrication and edge polishing: $150 to $400 depending on profile
- Steel bracket support every 24" (4 brackets): $400 to $1,200 installed
- Total overhang upcharge: roughly $1,150 to $3,400 depending on slab and bracket choices
For most families that price is worth it. A comfortable seated island gets used every day for the life of the kitchen. If you're already stretching the remodel budget, ask about financing options with approved credit, so you can pay over time.
Overhang Mistakes to Avoid
- Going under 12" for seating: looks like an overhang on paper, but knees won't fit and nobody sits
- Skipping brackets to save money past the maker's unsupported limit: the slab will crack within a few years
- Choosing a 2 cm slab for a deep overhang: even with brackets the thinner material is more flexible and feels less substantial
- Forgetting to account for stool widths: measuring overhang length without thinking about seating capacity
- Putting electrical outlets in the front of the overhang knee wall: kicks knees and looks dated
- Mounting brackets after the fact: brackets need to be inset in the cabinet's top so the slab sits flat
If you're planning a kitchen remodel from scratch, the cabinet layout, electrical, and bracket placement all need to be coordinated before the slab is templated. Our pre-installation tips page walks through what to confirm before fabrication day.
Frequently Asked Questions
Can I Sit on a Quartz Overhang?
Briefly leaning on it is fine. Sitting on it with body weight isn't recommended on any overhang, supported or not. Steel brackets support seated diners using it as a table, not the full weight of an adult perched on the edge. We've replaced cracked slabs from kids using overhangs as seats.
Can I Add a Bigger Overhang to Existing Counters Later?
Not easily. The slab is templated and cut to a specific overhang depth. Extending it later requires either replacing the slab or fabricating a separate extension piece with a visible seam. Both options are usually more expensive than getting it right the first time.
Does Overhang Direction Matter?
Yes. Plan the seating overhang away from the cooking zone. You don't want seated diners with their backs to the stove. The most-used configuration is seating on the side facing the main room, with cooking on the side facing the wall.
The Bottom Line
For most family kitchens, design for a 12" to 18" overhang on the seating side of the island, with steel plate brackets every 24" of overhang length. Use 3 cm slab. Plan stool spacing at 24" per person. The investment pays itself back in years of comfortable family meals at an island that actually gets used.
If you're planning a kitchen remodel and want help working through the overhang and bracket layout before you commit to a slab, contact us for a free in-home measure and consultation. We'll walk through the whole island layout in detail, including cabinet support, electrical, and stool placement.
Sources
- Cambria, Countertop Installation Technical Guideline (the 2 cm and 3 cm unsupported overhang limits)
- MSI, Q Quartz Installation Guidelines (the quartz unsupported limits and the 24-inch bracket interval)
More countertop tips
Have a project of your own?
Free in-home estimates across Polk County.