
Cabinet Tips
How to Measure Your Kitchen for New Cabinets
A step-by-step guide to measuring your kitchen for a cabinet estimate: walls at counter height, every window and door, appliances and utilities, ceiling height, and out-of-square corners.
- Published
- October 30, 2026
- Author
- Blackburn's Interiors, Winter Haven, FL
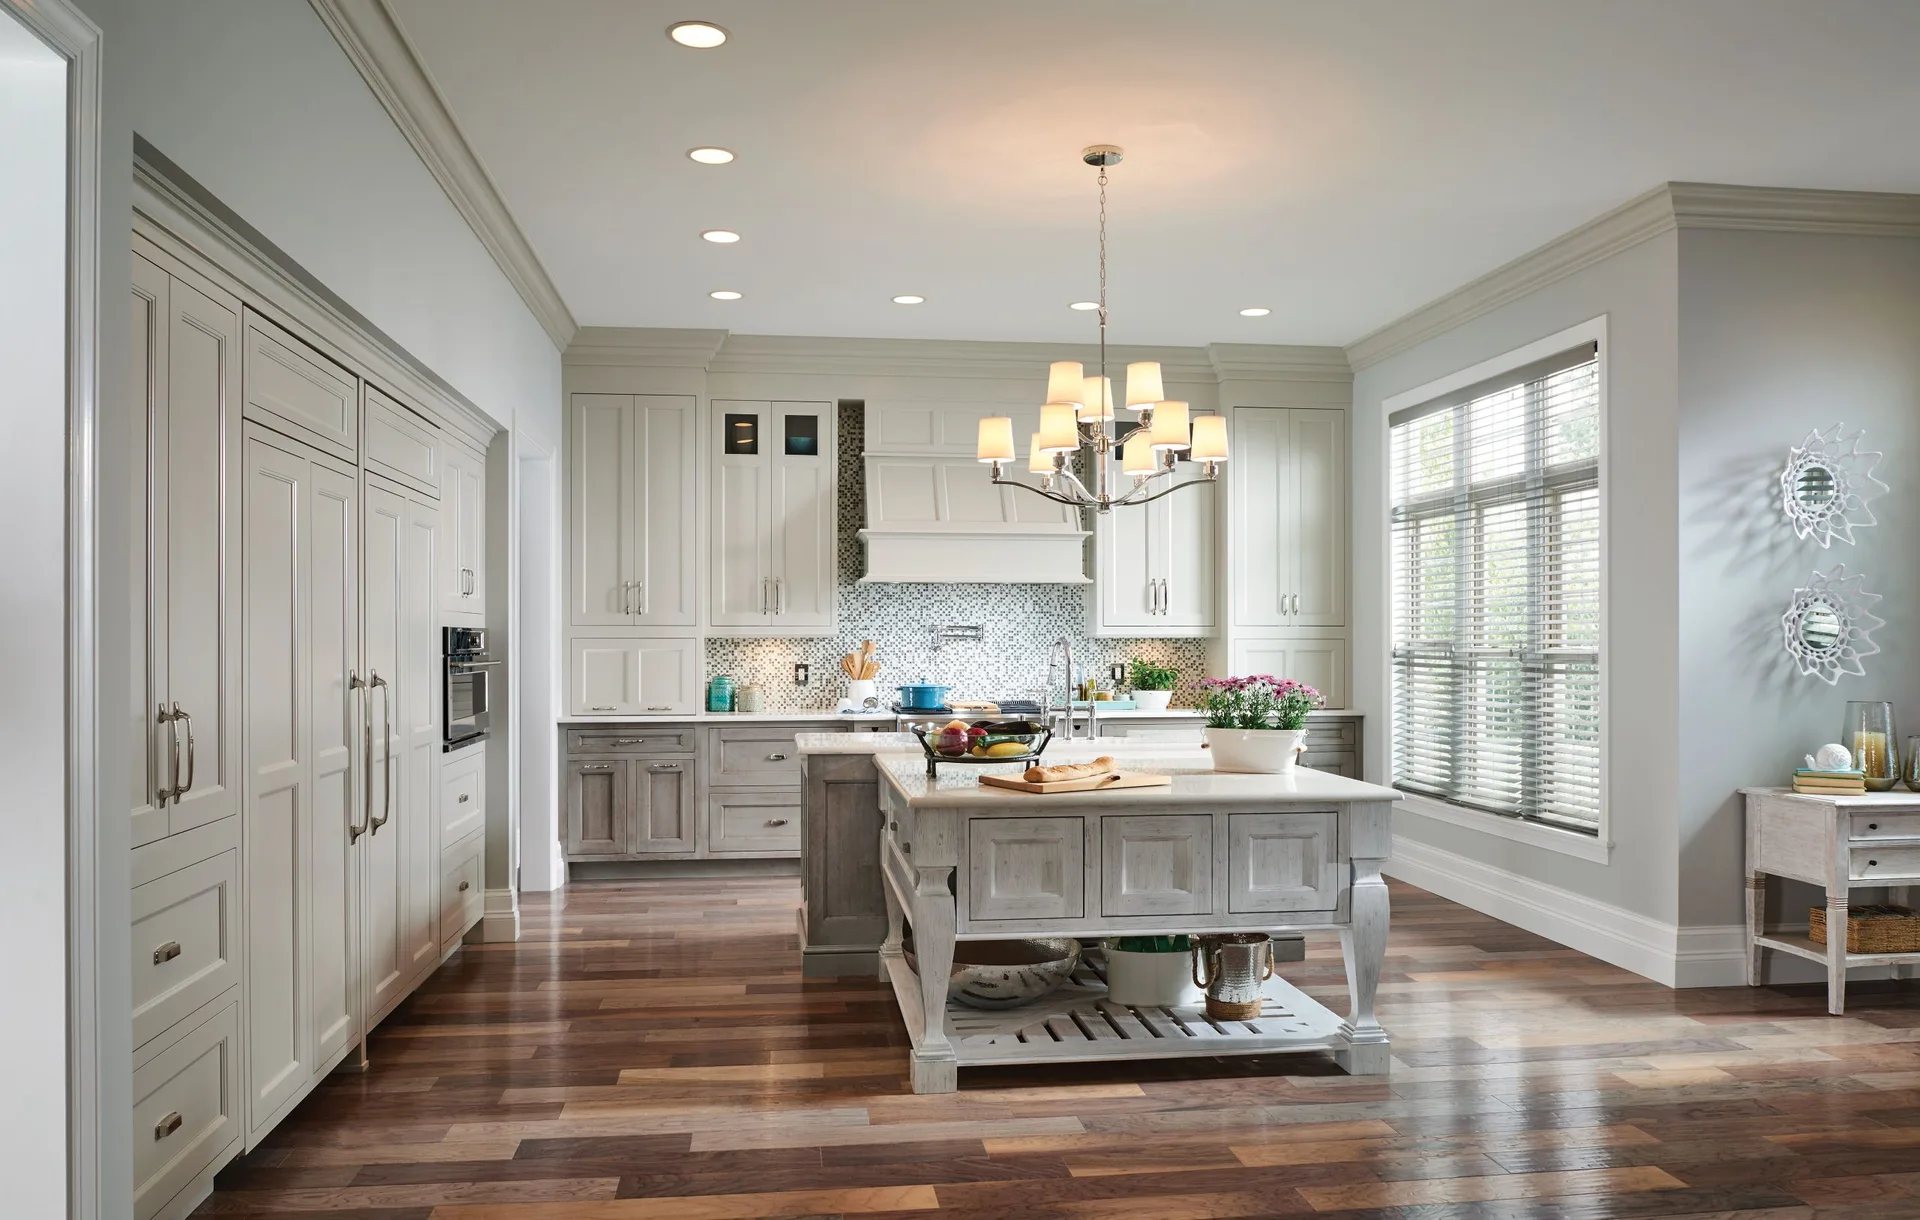
Measuring your kitchen for new cabinets is not hard. You need a tape measure, a pad, and about an hour. You measure each wall corner to corner, mark every window and door, note where the sink and appliances sit, and record the ceiling height. Do that, and you can plan your layout and set a real budget before anyone comes out.
Here is the honest part. Your measurements are for planning. The order your new cabinets get built from comes from a free in-home measure, done on site by our team. This guide shows you how to get close enough to budget with confidence, and why the final numbers are worth waiting for.
What You'll Need Before You Start
Gather a few simple tools first. Nothing fancy. Most of this is already in a kitchen drawer.
- A 25-foot tape measure, the kind with a locking blade
- A pad of paper and a pencil, or graph paper if you have it
- A second set of hands to hold the other end of the tape
- A step stool to reach the ceiling and the tops of windows
- Your phone, for photos of every wall and corner
Draw a rough floor plan of the room before you measure anything. One box per wall. It does not need to be to scale. You are making a place to write numbers down. If you want to sketch a smart layout while you are at it, our kitchen design 101 guide walks through the work triangle and traffic flow.
Step 1: Measure Every Wall at Counter Height
Start with the walls. Measure each one corner to corner, from where it meets the next wall on one side to where it meets the wall on the other. Hold the tape at counter height, about 36 inches off the floor. That is the level where your base cabinets and counters will actually sit, and walls are rarely the same width up high as they are down low.
Write every number in inches. Not feet and inches. A wall that is three and a half feet wide gets written as 42 inches, not 3 foot 6. Cabinet makers size every box in inches, so recording in inches keeps you speaking their language and cuts down on math mistakes. Jot each measurement right on your sketch, on the wall it belongs to. Curious what widths the boxes actually come in? Our guide to standard kitchen cabinet sizes lays out the common runs.
Step 2: Mark Every Window, Door, and Opening
Now measure the openings. Every window, every doorway, every cased opening into the next room. Measure from the outside edge of the trim on one side to the outside edge of the trim on the other. The trim counts. It is part of the opening as far as your cabinets are concerned, because a cabinet cannot sit on top of a window casing.
For each window, measure the height too. Record how far it sits off the floor to the sill, and the height of the window itself. That tells your designer whether an upper cabinet clears the glass or whether the run has to stop short. Trim and windows eat into the wall space you have to work with, so getting them on paper early keeps surprises out of the plan.
Step 3: Find Your Appliances and Utilities
Cabinets share the wall with everything else in the kitchen. Mark it all. Stand at each wall and note the center point of the sink, the range, the refrigerator, and the dishwasher. The center point matters more than the edges, because the plumbing line or the gas line usually enters the wall or floor right at the center of the appliance it feeds.
While you are at it, mark every utility on the sketch:
- Electrical outlets, and how high they sit off the counter
- Light switches
- Vents and any range hood duct
- The sink drain and water supply lines
- The gas line, if you cook with gas
You do not have to be perfect here. You are giving your designer a map of what lives behind the cabinets so nothing gets boxed in by accident. A photo of each wall, with the outlets and switches in the frame, does half this job for you.
Step 4: Record Ceiling Height and Check for Soffits
Measure from the floor straight up to the ceiling. Do it in at least three spots around the room, not just once. Ceilings drift, and the shortest measurement is the one your upper cabinets have to live under.
Look up for a soffit, that boxed-in section of wall that often runs above the upper cabinets. If you have one, measure two heights: floor to the bottom of the soffit, and floor to the true ceiling. The soffit, not the ceiling, sets how tall your upper cabinets can go. Note its depth too, meaning how far it sticks out from the wall. Plenty of kitchens we work in around Winter Haven have soffits left from an older remodel, and knowing they are there changes the whole upper-cabinet plan.
Step 5: Check Your Corners for Square
Here is the step most people skip, and the one that trips up a DIY measurement most often. Walls that look square usually are not. There is a simple trade trick to check, called the 3-4-5 method. It comes from the Pythagorean theorem, and carpenters have leaned on it for a very long time.
Pick a corner. Measure 3 feet out along one wall and make a mark. Measure 4 feet out along the other wall and make a second mark. Now measure the diagonal between those two marks. On a perfectly square corner it reads exactly 5 feet. If it reads more or less, that corner is out of square, and now you know by how much.
Why sweat a corner? Because a small gap compounds. A quarter inch off in the corner grows across a full run of cabinets. It can leave you with a door that will not sit flush or a counter that shows daylight at the wall. Cabinet shops handle this with filler strips and scribes, thin pieces trimmed to follow the real wall. But they can only plan for what got measured.
Why Older Polk County Kitchens Rarely Measure Square
We measure kitchens all over Winter Haven, Lakeland, and Auburndale. Here is what we see: the older the home, the less likely a corner is to pass the 3-4-5 test. A lot of Polk County housing went up between the 1950s and the 1980s, much of it concrete block. Decades of Florida heat, humidity, and rain let a house settle and shift a little over the years. That is normal. It does not mean anything is wrong with your home. It just means the walls moved, and the cabinets have to be fit to the walls you have today.
Floors tell a similar story. Newer floors tend to sit flat, but older ones can rise and dip. Before cabinets go in, the high point of the floor gets found and the boxes get shimmed level from there. None of this is a problem. It is just the reason a real measure beats a tape and a hopeful sketch.
Your Numbers Build the Budget. Our Measure Builds the Order.
Your measurements are worth taking. They let you sketch a layout, compare cabinet tiers, and build a real budget with our cabinet cost guide before you ever come to the showroom. Use them to plan with confidence.
But a wall measurement is not automatically a cabinet dimension. A proper field measure checks wall alignment, corner conditions, floor level, ceiling height, and the framing behind the drywall, then builds in the fillers and scribes those real conditions call for before the order goes to the factory. That is skilled work, and it is why the numbers on your sketch and the numbers on the order are not always the same.
That work has real value. Some installers charge a fee just to come measure. National cost guides put it at $50 to $150. Ours is free. We come to your kitchen, measure it ourselves, and the order gets built from those numbers, not from a sketch. You get to plan and budget now, and trust the final fit to the people who will do the install.
Frequently Asked Questions
Do I really need to measure if you're coming out anyway?
No, you do not have to. If you would rather skip it, call and we will come measure everything for free. But measuring yourself first has a real payoff. You can plan your layout, price the project, and walk into the showroom knowing roughly what fits. Most folks who measure first make faster, calmer decisions.
What if my walls aren't square?
Almost none are, and that is fine. Out-of-square corners are normal, especially in older homes. Cabinet shops plan for them with filler strips and scribes cut to follow the real wall. That is exactly what the in-home field measure catches. You do not need to fix a thing before we come out.
Should I measure the walls or my existing cabinets?
Measure the walls. Your old cabinets may not have used the space well, and you may want a different layout anyway. The walls, windows, doors, and utilities are the real constraints. Measure the room, not the boxes that happen to be in it now.
How exact do my measurements need to be?
Close is good enough for planning. Aim for the nearest quarter inch and do not lose sleep over it. Your numbers set the budget and the rough layout. The exact numbers, the ones the cabinets are cut to, come from the free measure done on site.
The Bottom Line
Measuring your kitchen is an hour of simple work. Measure each wall corner to corner at counter height. Mark every window, door, and opening with its trim. Find your sink, appliances, and utility lines. Record the ceiling in three spots and note any soffit. Then check your corners with the 3-4-5 method, and expect a few to come up short, because most kitchens do. Write it all in inches on a simple sketch, and you have what you need to plan and budget.
Thank you for spending your time with us. You have plenty of places you could buy cabinets, and we do not take it for granted that you are reading this. When you are ready for exact numbers, reach out and we will bring the tape to you. The free in-home measure is on us, the installers we train and certify do the work, and your cabinets get built to fit the walls you actually have. We have served Polk County families since 1962, and we would be glad to serve yours.
Sources
- KraftMaid, How to Measure a Kitchen with Cabinets (measuring each wall corner to corner and recording the numbers in inches)
- Kitchen Cabinet Kings, How to Measure Your Kitchen for Cabinets in 7 Steps (measuring walls at 36-inch counter height, marking openings trim edge to trim edge plus utilities, and recording ceiling height in at least three spots)
- The Concord Carpenter, The 3-4-5 Method for Squaring Corners (the 3-4-5 method for checking whether a corner is square)
- Eagle Woodworking, How to Turn Field Measurements into an Accurate Cabinet Order (a wall measurement is not automatically a cabinet dimension, and a field measure verifies conditions on site)
- HomeGuide, How Much Do Kitchen Cabinets Cost? (some installers charge $50 to $150 to perform in-home measurements)
- Family Handyman, How to Install Kitchen Cabinets (DIY) (kitchen floors are flatter in newer homes, so the floor's high point is confirmed before cabinets go in)
More cabinet tips
Have a project of your own?
Free in-home estimates across Polk County.